This guide is for a user setting up their Elive hosted Email on their Android.
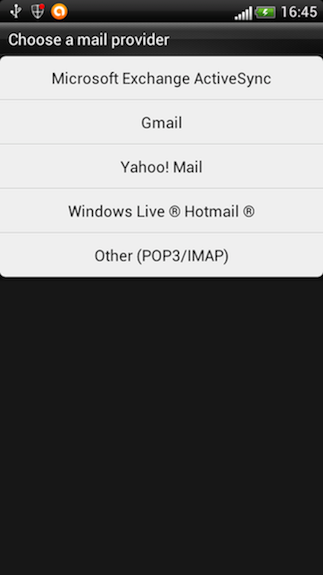
1. From your Home screen go to apps and mail. This should bring you to the choose a mail provider menu.
2. Press other (POP3/IMAP )
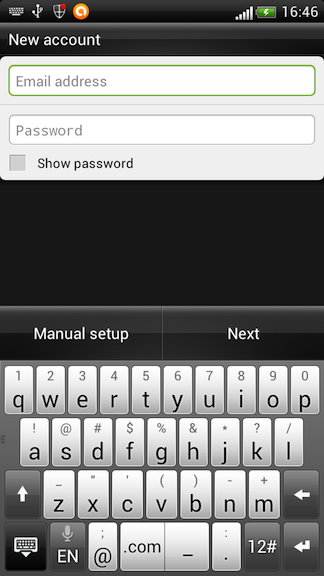
3. In the New Account menu press Manual setup & fill out the fields
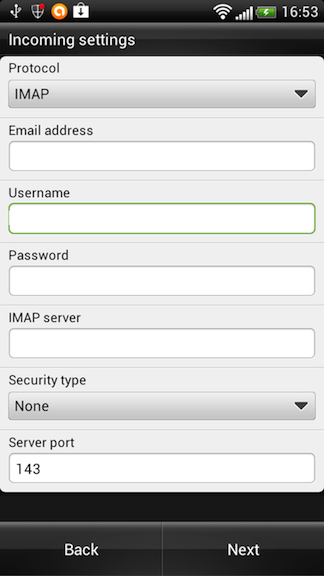
- In drop down menu choose POP or IMAP, your Elive Hosted email supports post
- Email Address - this is the email address you are setting up
- User Name - This is the same as your email address.
- Password - this is our email account password
- POP or IMAP server - this in most cases is the server setting provided to you when you signed up for hosting.
4. Press next and the Outgoing server settings menu opens
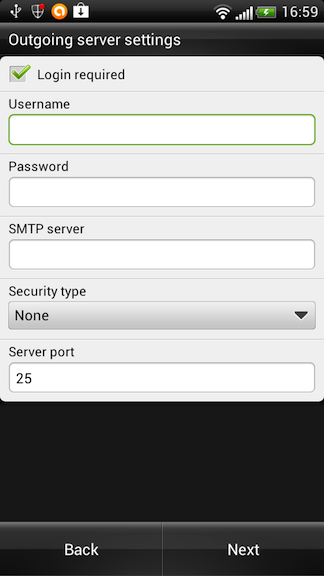
- User Name - Your email address
- password - This is your smtp password. (supplied by Elive)
- Smtp server - This in most cases is the server setting provided to you when you signed up for hosting.
5. Press next and new account menu opens
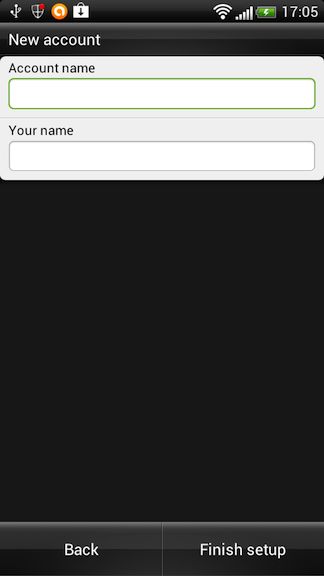
- Account name - Here you can use a brief description of your account.
- Your name - This is the name recipients will see when they receive a mail from you.
6. Press finish and you are done.


